 | OK friends. Ready to go on a totally insane crochetventure?? First time I’ve ever documented a creative process step by step, so here we go! SO! The granny square bag. Found on Pinterest. It’s so 1970’s, right? I thought this would be a perfect bag to go to a roadside veggie stand with, fill up with some zucchinis, and generally feel adorable carrying. Maybe with a little Brigitte Bardot playing in the background in my roadside vegetable bag daydream. Moral of the story: I wanted one. To my dismay: no pattern linked! So I made one up. Dun dun DUNNN! |
I bought a bag of yarn at a thrift store at my friend Julie’s recommendation (I will never buy yarn from Michael’s again! Spent only $10 on what definitely would’ve been $40 in a craft store) I decided to attempt this bag with a Joanna twist.
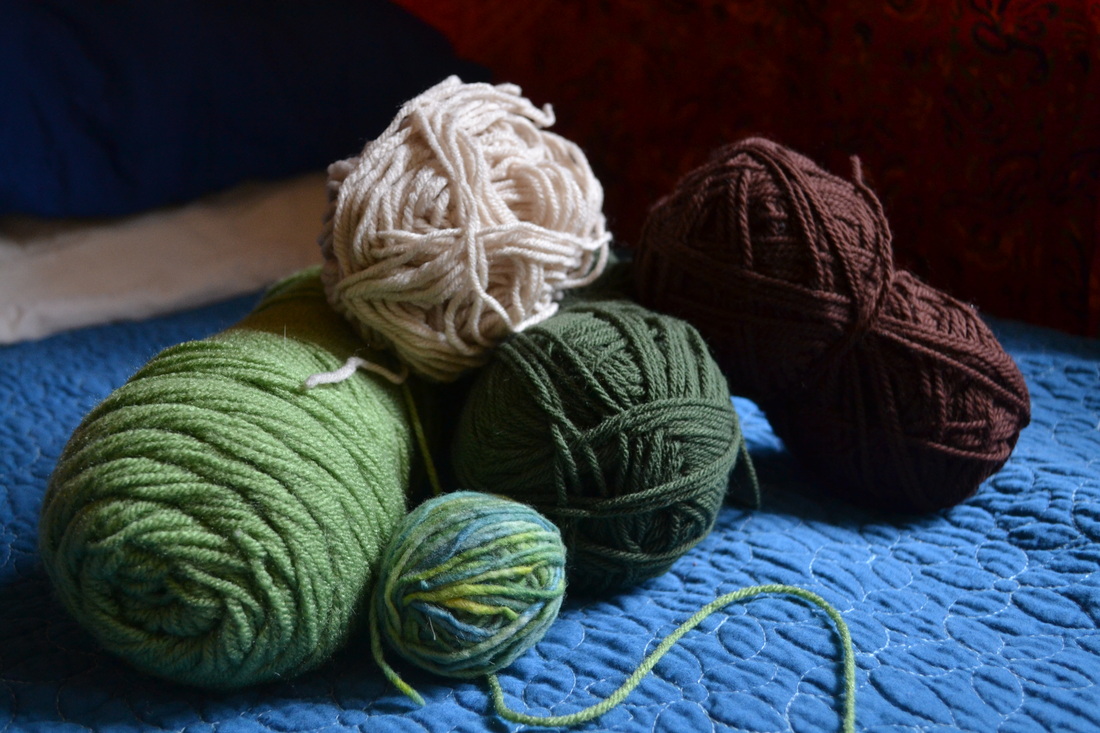
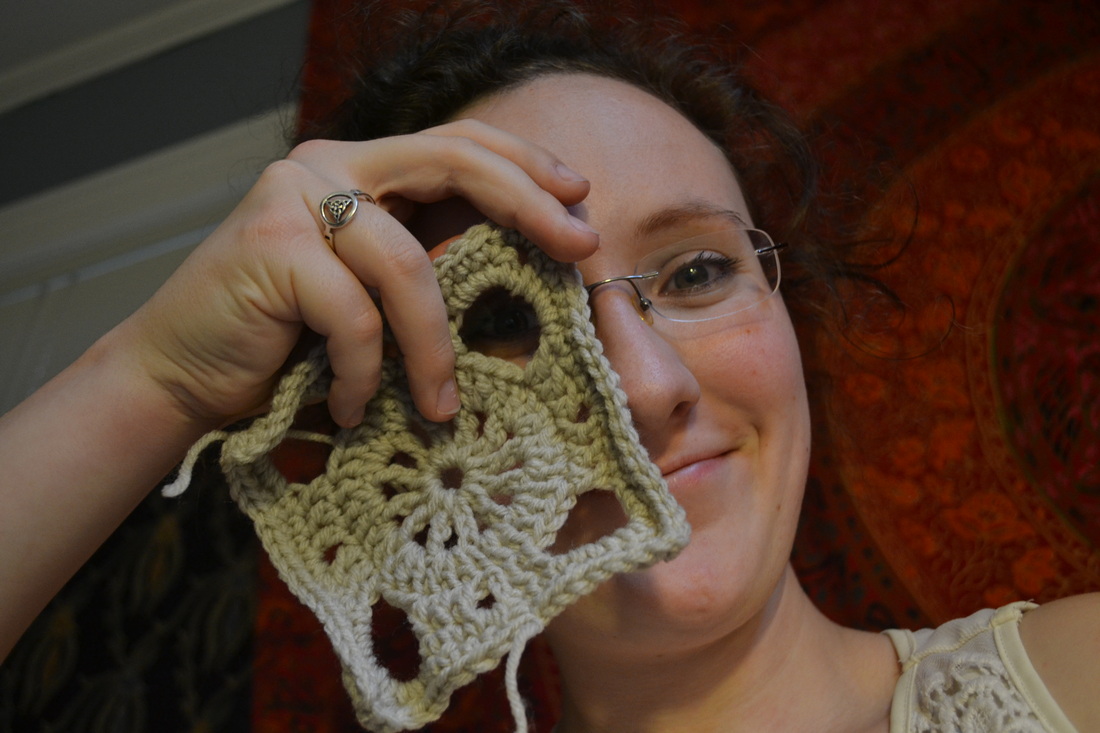
I used three different granny square patterns, because I don’t ever make squares and I wanted to add some to my repertoire. Here’s one for a basic granny if you’ve never done one before, the cuff pattern I kinda went off of (which was my favorite), and a Finse square that is written in some mystic Norwegian tongue, but I was able to decipher it so of course, you can too. Or use your own patterns.
Holy squares, Batman.
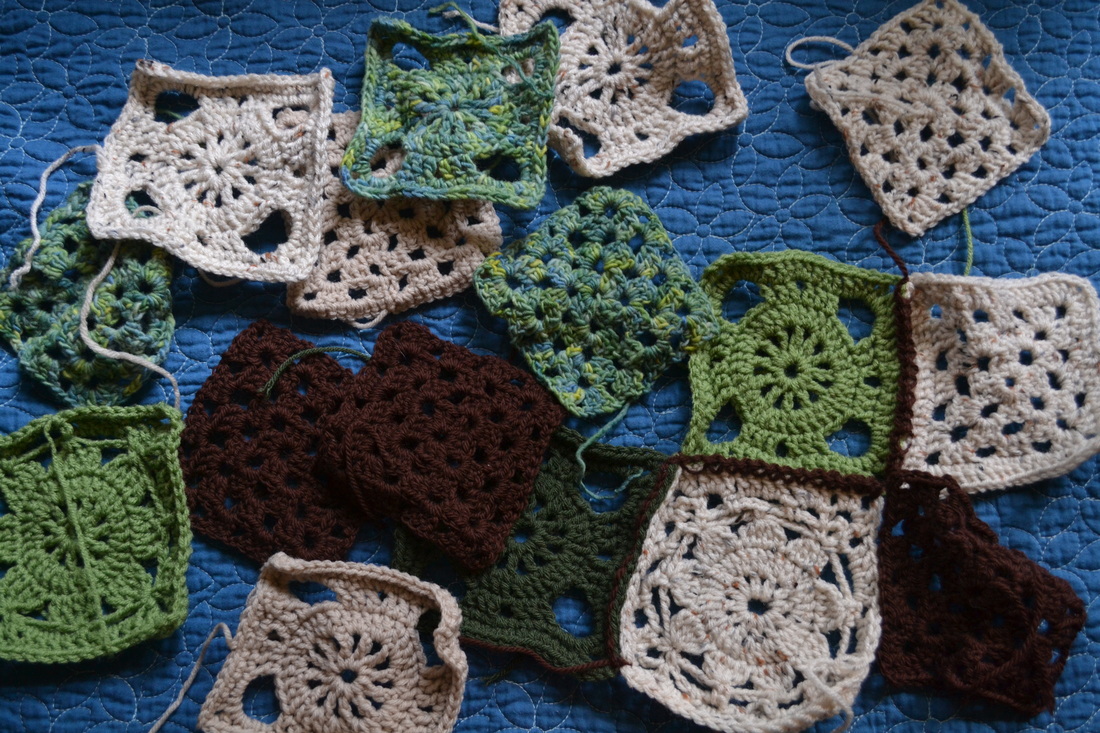
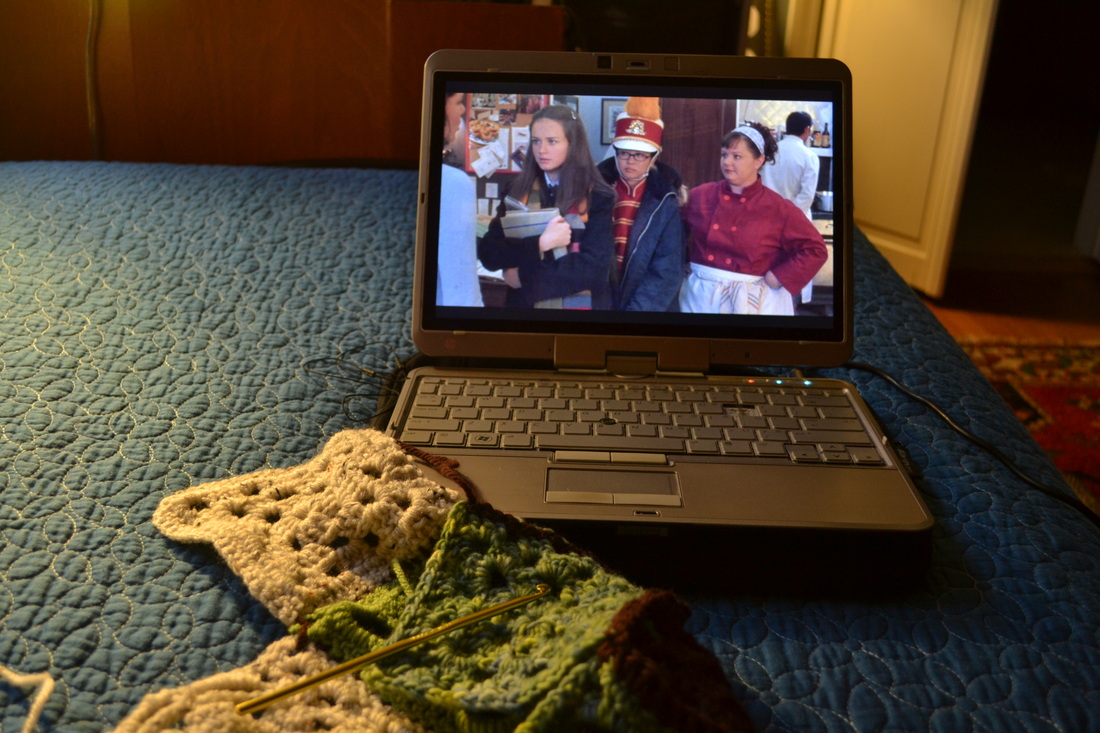
I used a 5mm hook. From what I interpreted from the image of this bag, which is the only thing I had going for me, I knew I needed 16 squares. So, I started stacking them up, Gilmore Girls for company. Took longer than it would have if I was just making a damn bag like a normal person. But nooo. I have to have taste. So, the work.
I used a 5mm hook. From what I interpreted from the image of this bag, which is the only thing I had going for me, I knew I needed 16 squares. So, I started stacking them up, Gilmore Girls for company. Took longer than it would have if I was just making a damn bag like a normal person. But nooo. I have to have taste. So, the work.
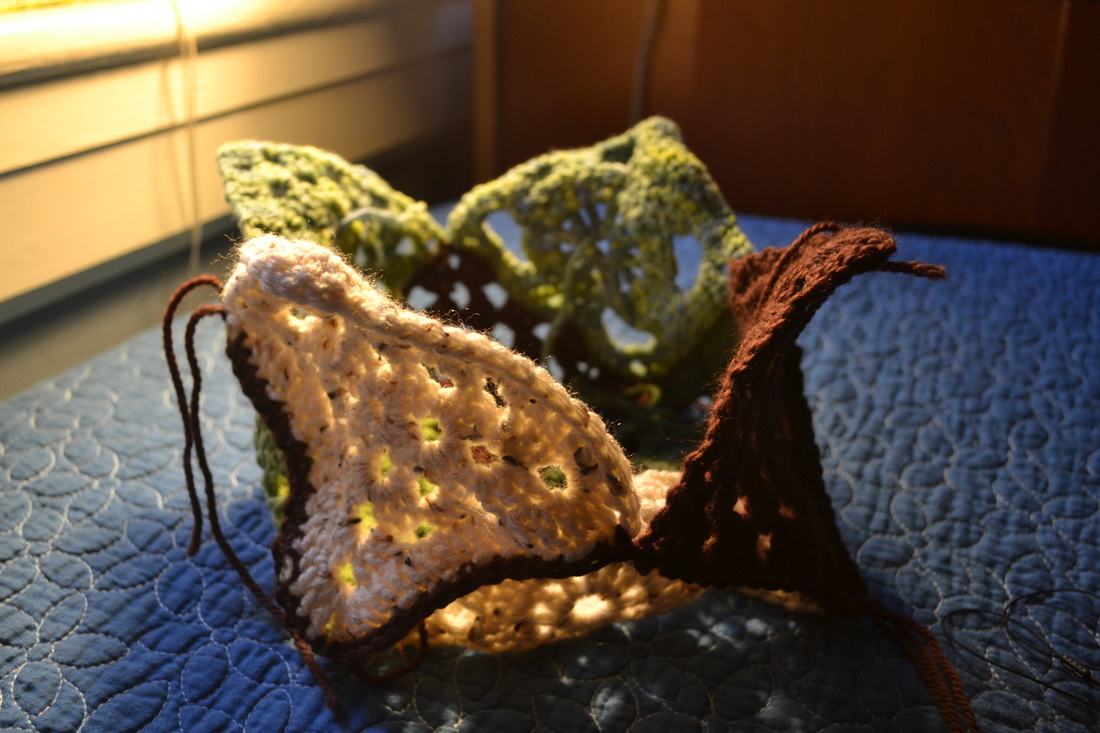
The piecing together was the hardest part, so buckle up, kiddos! I’ve never done anything quite this origami-like before. I stitched the pieces together using single crochet in the formation below. It broke my brain a little to think about how to get it to work, but once I figured it out, I stitched the pieces together happily. If you’re following along at home, just make sure you do all your stitching together on what you want to be facing the outside. The stitching provides a nice contrast, and you don’t want that hiding inside the bag!
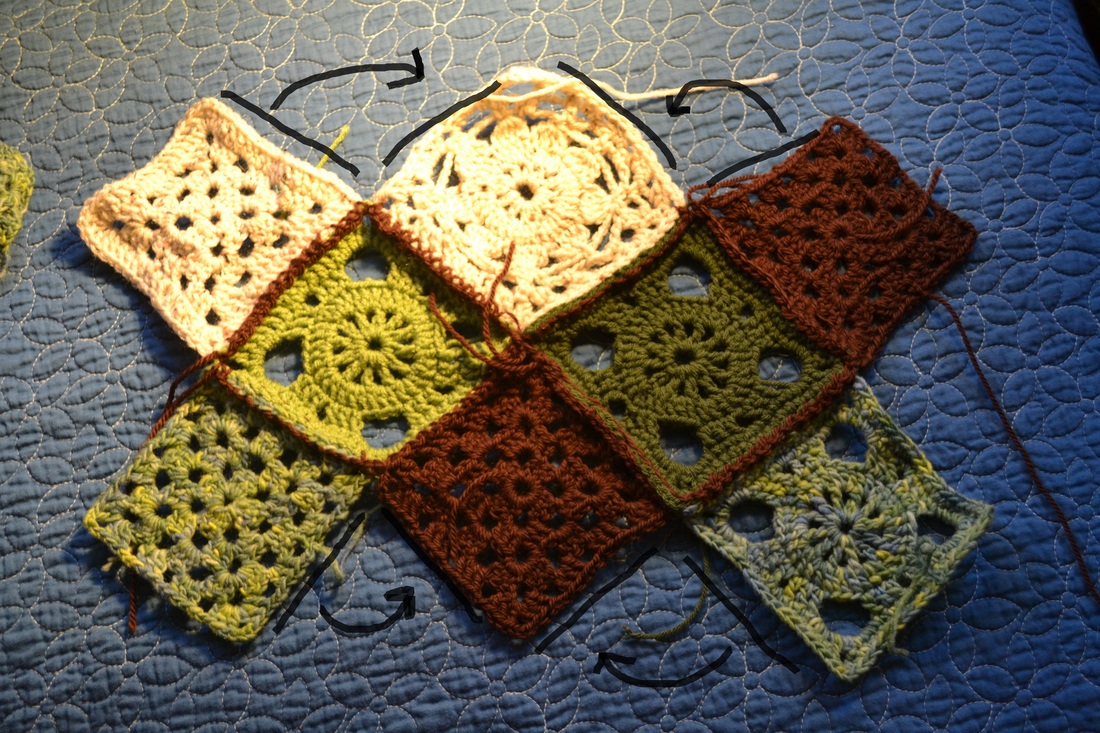
Then, flip over and shape! You’re going to fold up and stitch some of the edges of the outer four squares to the inner four so that the middle X is the geographical bottom center of the bag. Like crab rangoon from a Chinese takeout, sorta. I have indicated in the picture above using ultra high tech Paint software which sides to stitch together. Should look like the picture below when you’re done.
(And I mean, folks, this is like the crochet version of bongo free verse. If weird bag construction causes side effects of shortness of breath or blurry vision, please see your doctor immediately.)
(And I mean, folks, this is like the crochet version of bongo free verse. If weird bag construction causes side effects of shortness of breath or blurry vision, please see your doctor immediately.)
OK, that was the hardest part. Get hydrated, take a breather, stretch, do some crochet hand exercises, then jump back in. It’s relatively simple to construct from here. I built the rest of the bag in groups of four squares -- one in every gap.
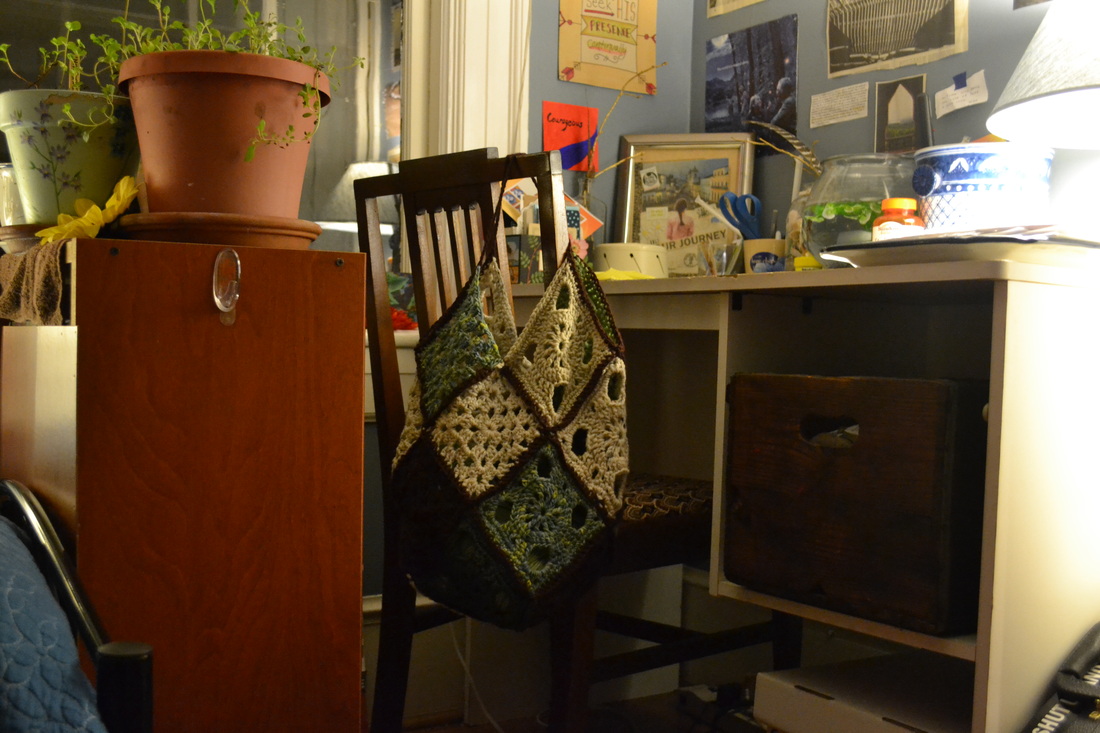
And, tada! It magically worked! I crocheted a row of single crochet around the border for consistency, weaved in all my little yarn tails, and added some handles -- though I think if I want this bag to be more heavy-duty, I’ll need to strengthen them somehow. Isn’t it the cutest, vintage-y-est thing you’ve ever seen?!
I am so happy with how it turned out and can’t wait to give it to someone or sell it. I can see someone stashing their yoga mat, craft supplies, or produce in there and feeling quite chic while doing so. With some alterations, this could also be the raddest backpack ever.
I am so happy with how it turned out and can’t wait to give it to someone or sell it. I can see someone stashing their yoga mat, craft supplies, or produce in there and feeling quite chic while doing so. With some alterations, this could also be the raddest backpack ever.
If you dare attempt something this insane, we want to see the results -- post them in the comments below or email us!
xo Joanna
xo Joanna
 RSS Feed