
Okay, so in general, I hate men's ties. The old-fashioned silky looking bibs that flap down their fronts and are supposed to look classy. Just kidding, I don't care quite that much, but I definitely don't love them and I DO love the new skinny tie look that is coming around and typically seems to be sported on cotton or wool fabrics! I decided to make a couple for Charlie's birthday and they turned out pretty great!
DIY SKINNY TIE UPCYCLE TUTORIAL
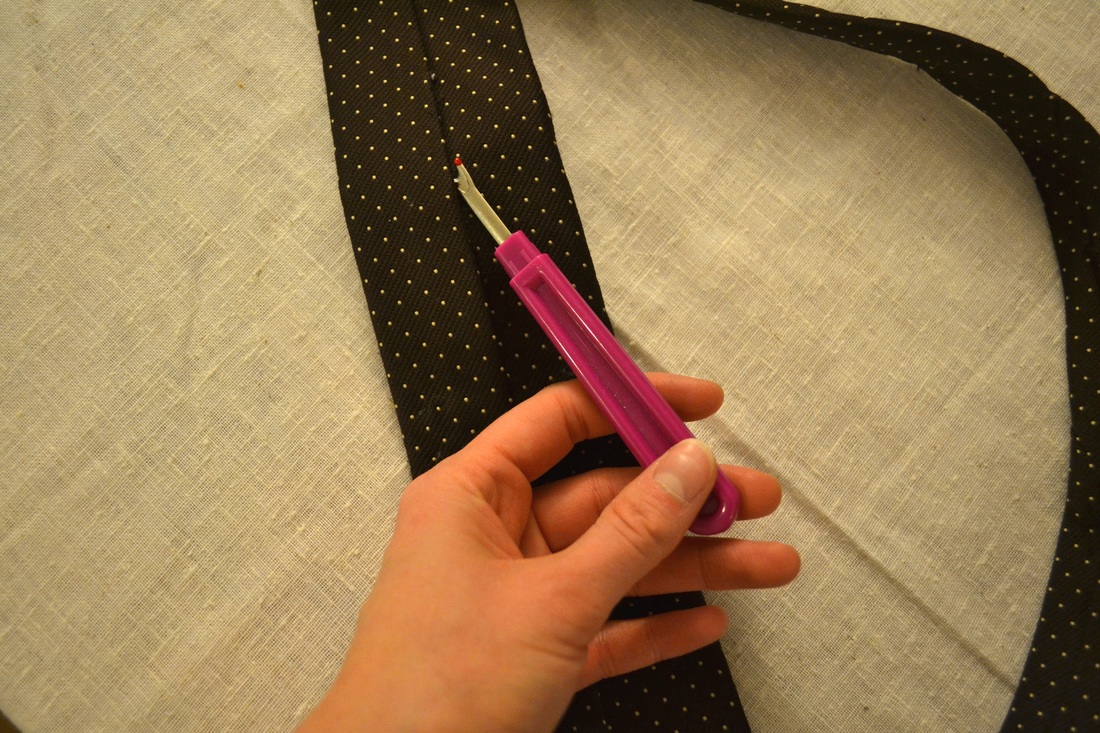
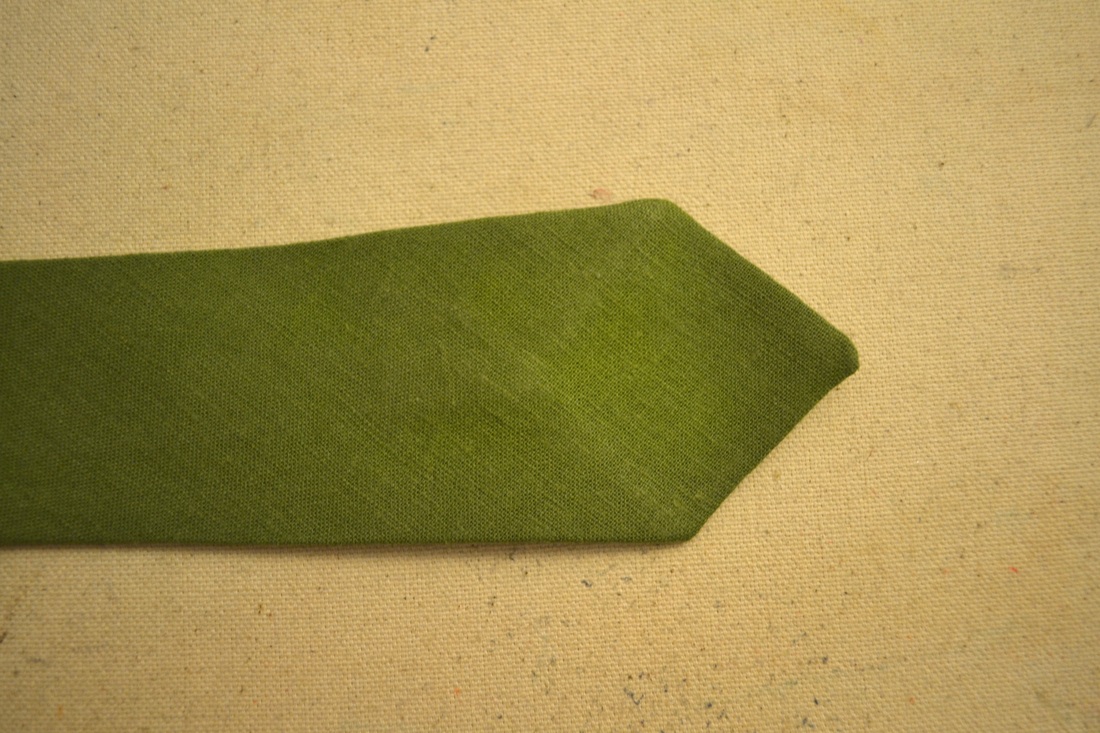
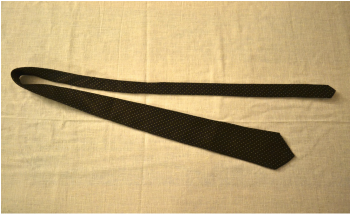 | 1. Go find your tie. The one you want to update may be in your closet, your brother's, roommates, boyfriend's, or, like me, it might be waiting for you at your favorite thrift store (CAROLINA THRIFT BABY!). You want it to be fabric you like and the right length for the future wearer. Also, the thicker it is, the easier it is going to be to mess with. 2. Flip it over and rip open the back seam, being careful not to rip your fabric. |
Difficulty Level: Easy to Intermediate
Skills Needed: Straight sewing on a sewing machine, whip-stitch hand-stitching, and your basic scissor wielding skills
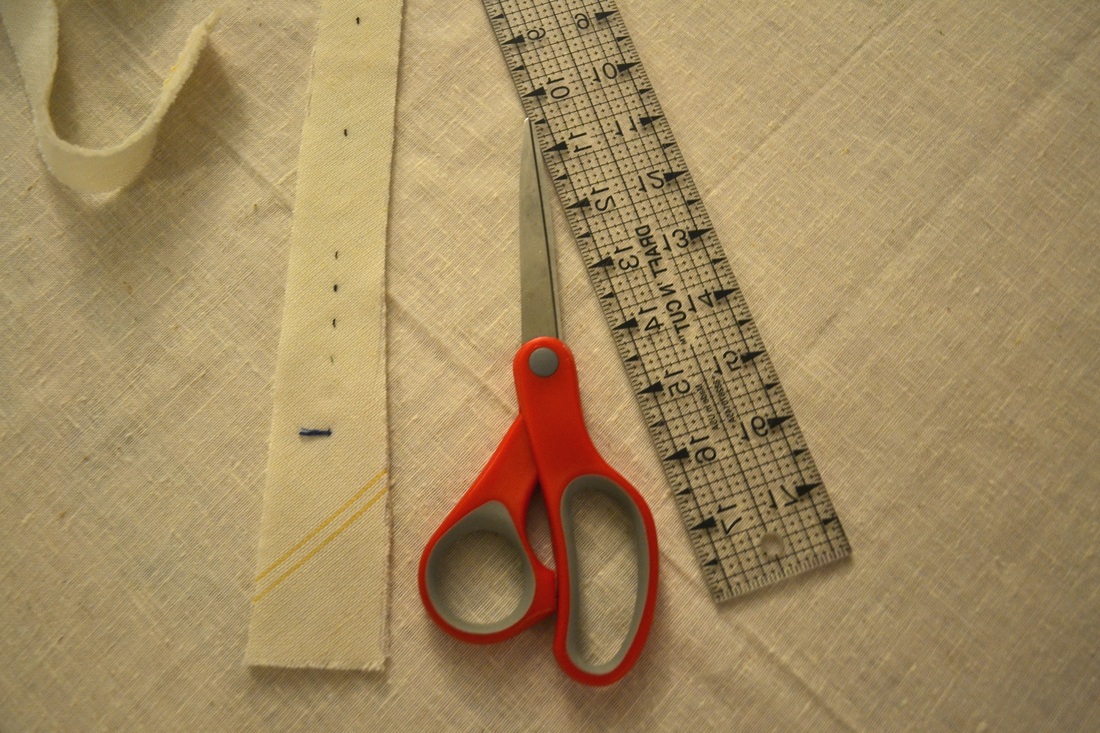
Supplies Needed:
Skills Needed: Straight sewing on a sewing machine, whip-stitch hand-stitching, and your basic scissor wielding skills
Supplies Needed:
- A tie that you like the fabric of and is the the right length but is too wide
- Thread that blends with your tie
- A sewing machine or impressive hand-sewing skills
- If you want to duplicate the tie, at least a yard of fabric that you like
- If you want to duplicate the tie, at least a yard of stiff interfacing or thick fabric
- Seam ripper
- Scissors
- Chalk or tailors chalk
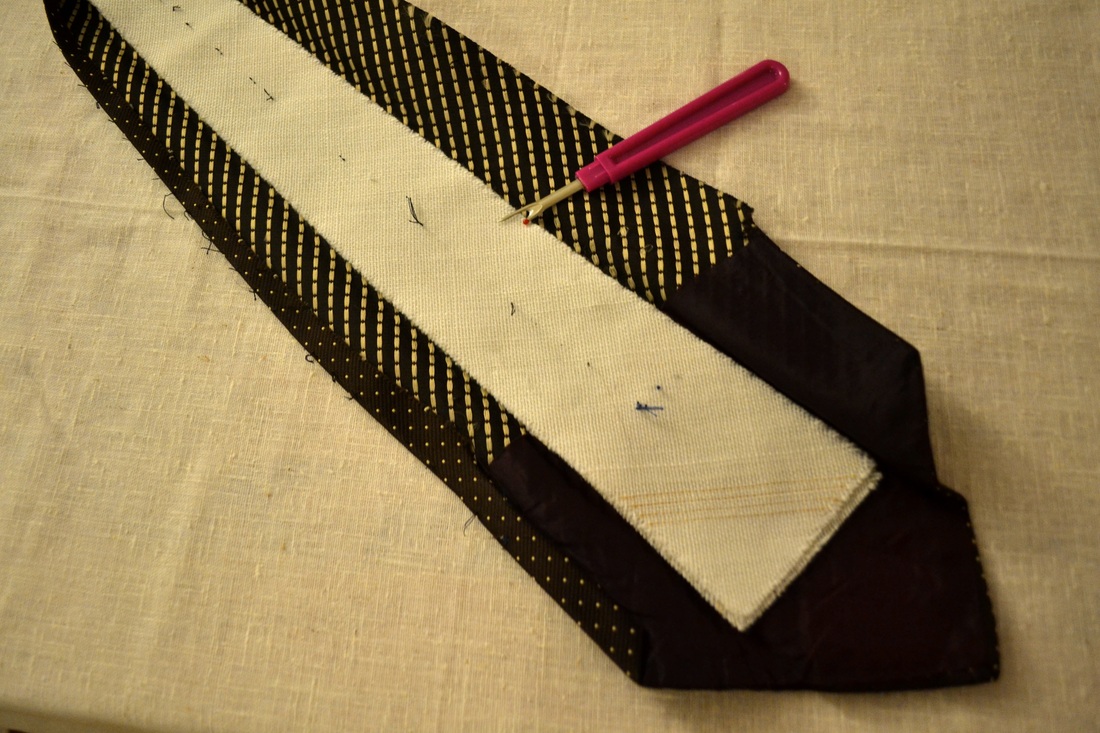
Once the tie is open, it looks like this. That middle part is what gives it shape and stiffens it!
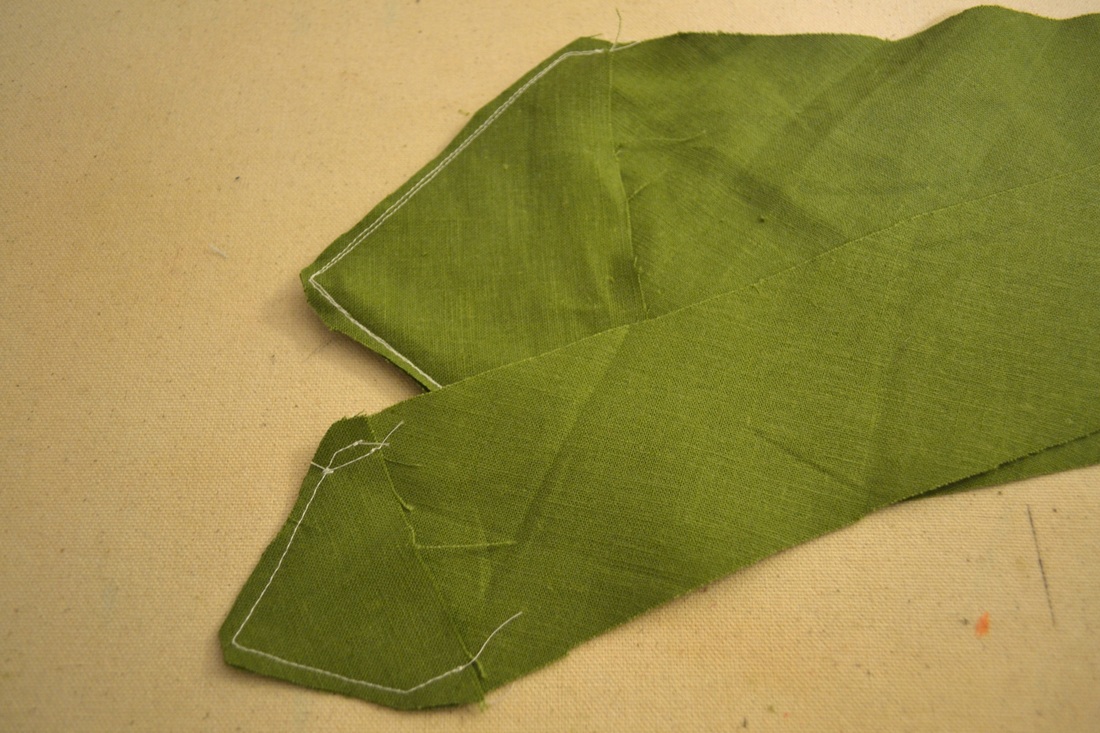
2. Next, decide how wide you want the bottom of your tie to me. I liked around 2''. I am pretty sure that anything under 2.5'' counts as a skinny tie. Pull out that middle thick part of your tie and using a ruler, measure out how wide you want the bottom to be. You are going to want to taper it into the top part of the tie and keep in mind that if it gets narrower than an inch, it really is going to look odd. Try to make sure you measure the same amount off on each side and keep track of what that amount is. For me it was a half inch on each side.
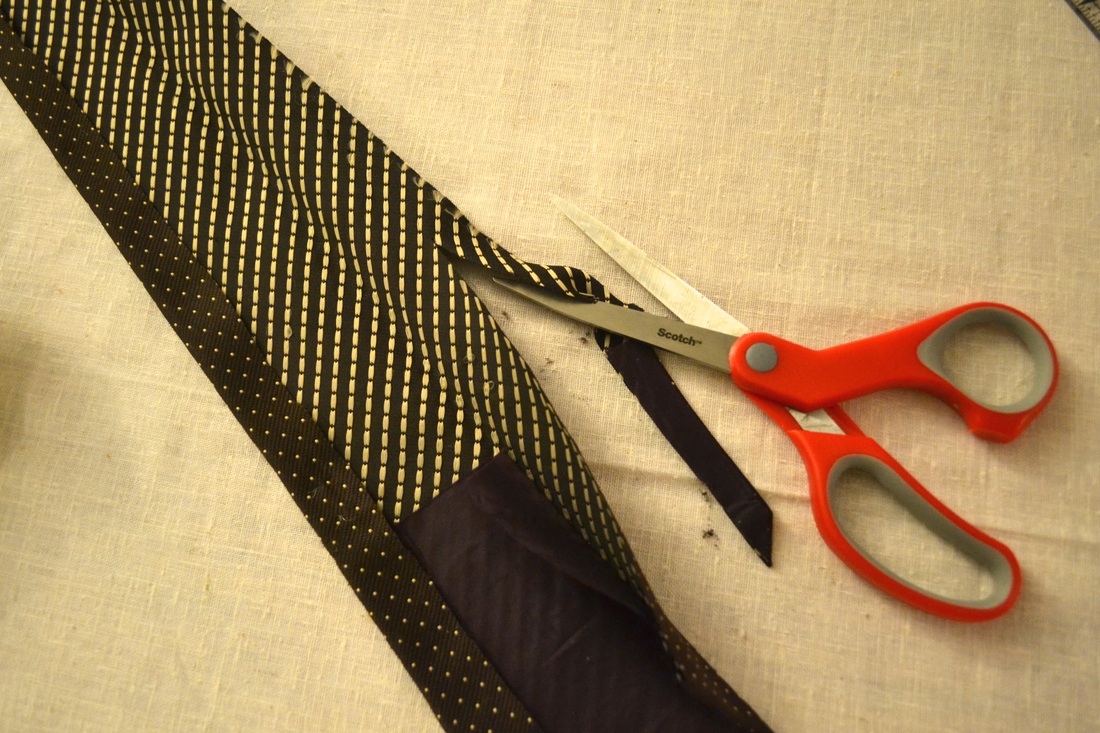
3. Okay, now cut it off! Don't be scared!
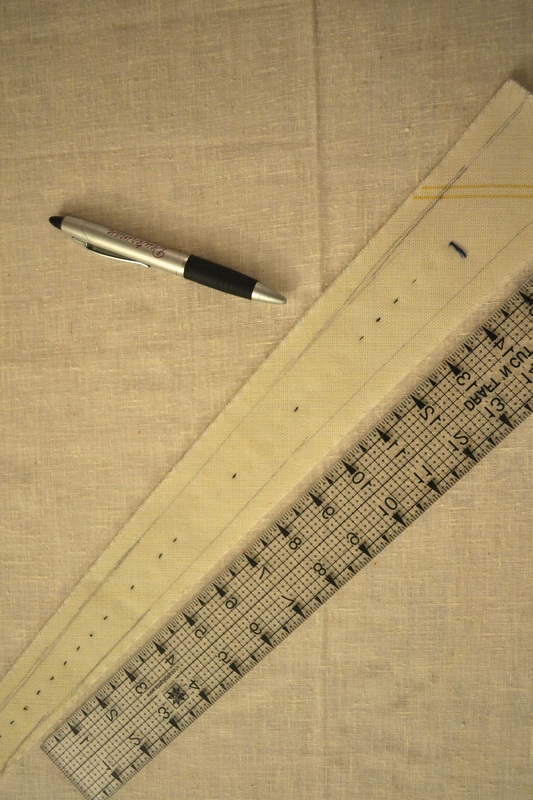
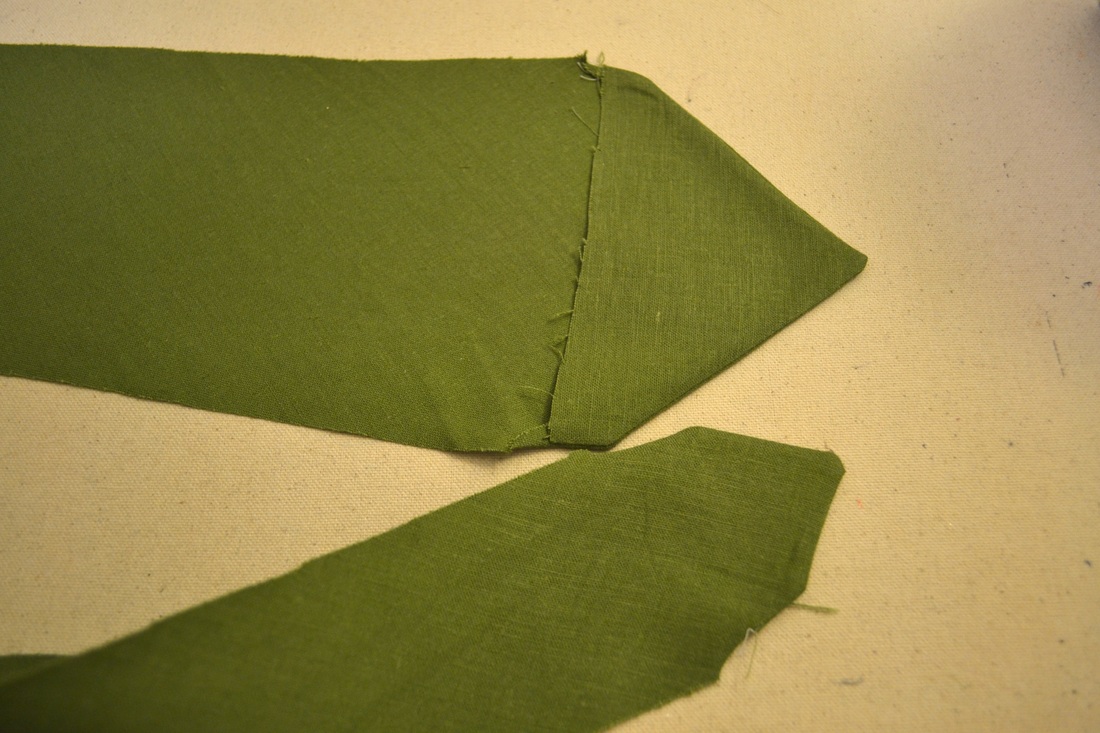
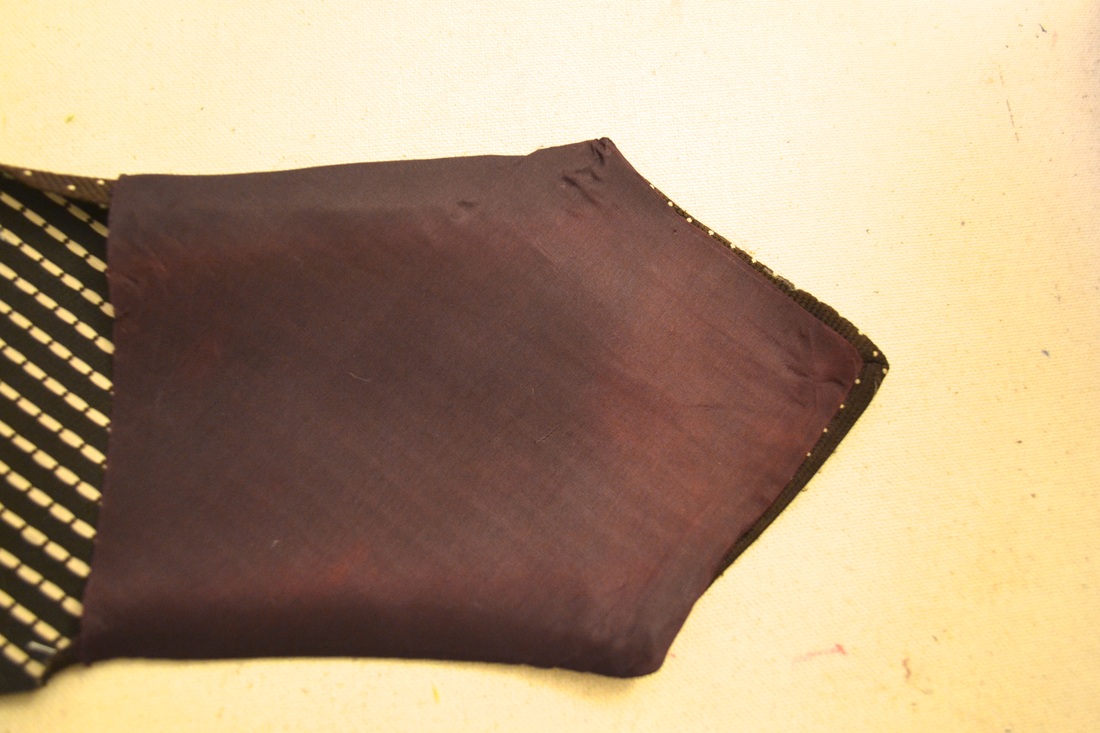
4. Okay, now you are going to iron the tie outside flat, pressing out the parts that were folded in. Then, measuring carefully, mark with taylor's chalk (or your eye if you are me), the same amount on either side of the tie that you cut off on the insert/lining part.
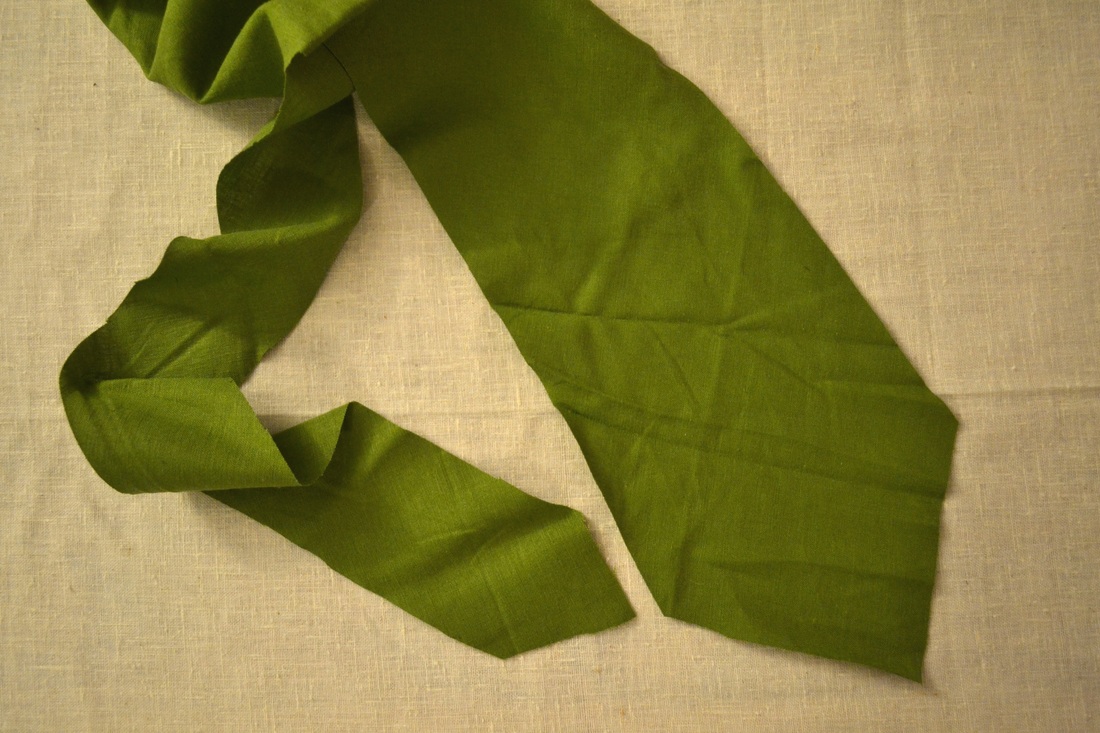
5. Here is where I get fancy. I wanted to use my thrift store tie as a pattern while it was all taken a part already. So I put it on top of my fabric with the fabric on the bias (diagonal to the weave) and cut out a duplicate. I also put the lining/thick piece on top of my interfacing and cut out a duplicate piece of that too.
6. If you want to make a duplicate tie too, you are going to want to cut out two end pieces that just sit right on top of the two ends, like this.
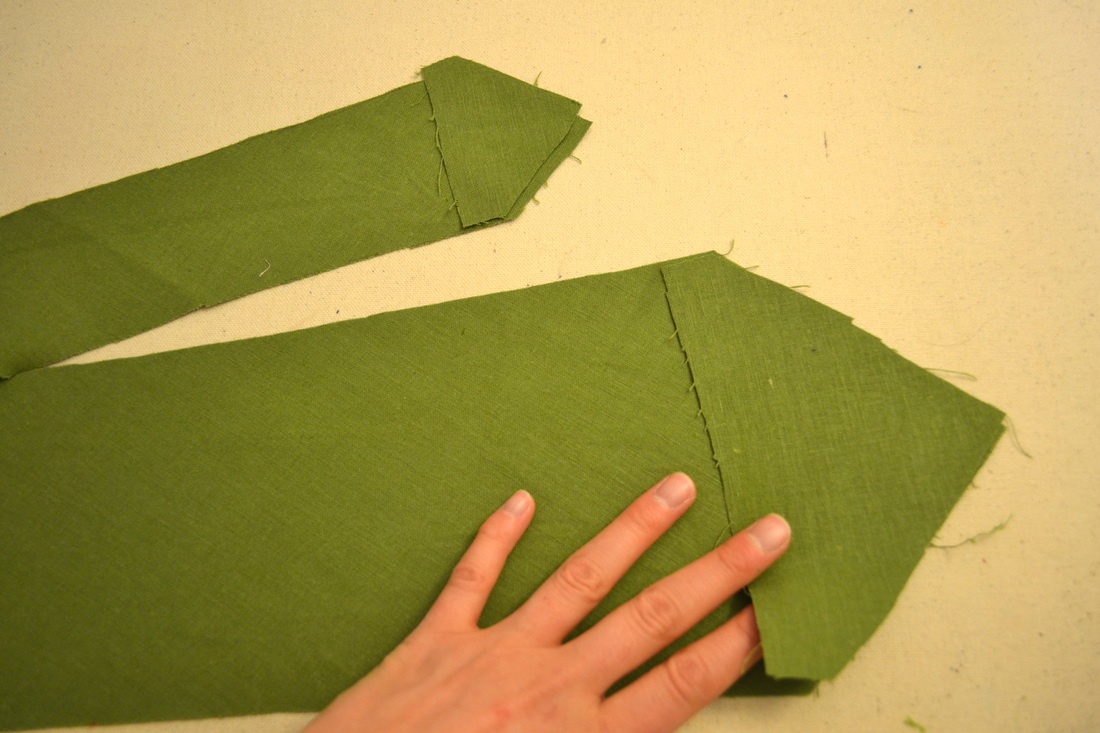
7. Then you are going to want to stitch them on, right sides together.
7. Then turn them inside out, pressing the corners out with your scissors, and iron the ends flat and crisp. This part is important to get right. If it looks crooked or uneven, flip it back over and redo it. It's worth it for the end result!
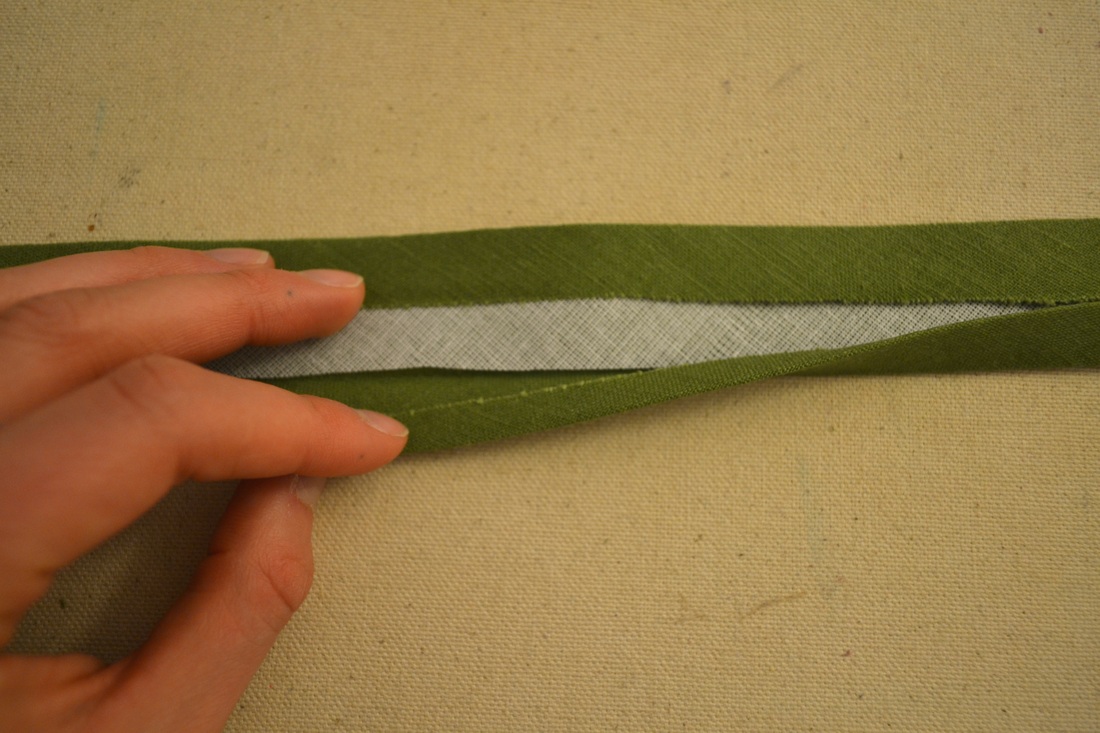
8. If you are still tracking with my duplicate tie-making, slip the interfacing piece into your tie. It should be perfect. If it is too short, don't sweat it, just chop it in the middle and insert a piece to make it longer. You won't be able to see from the outside.
9. Next, iron one side straight over the interfacing. For the other side, before you iron it over, fold one edge in just 1/4'' to a 1/5'' before folding it over on top. This hides your unfinished seams.
10. Then you are going to want to thread a needle with some matching thread and whip stitch that thing shut. They can be long stitches; it doesn't matter in this case..

This is how it will look!
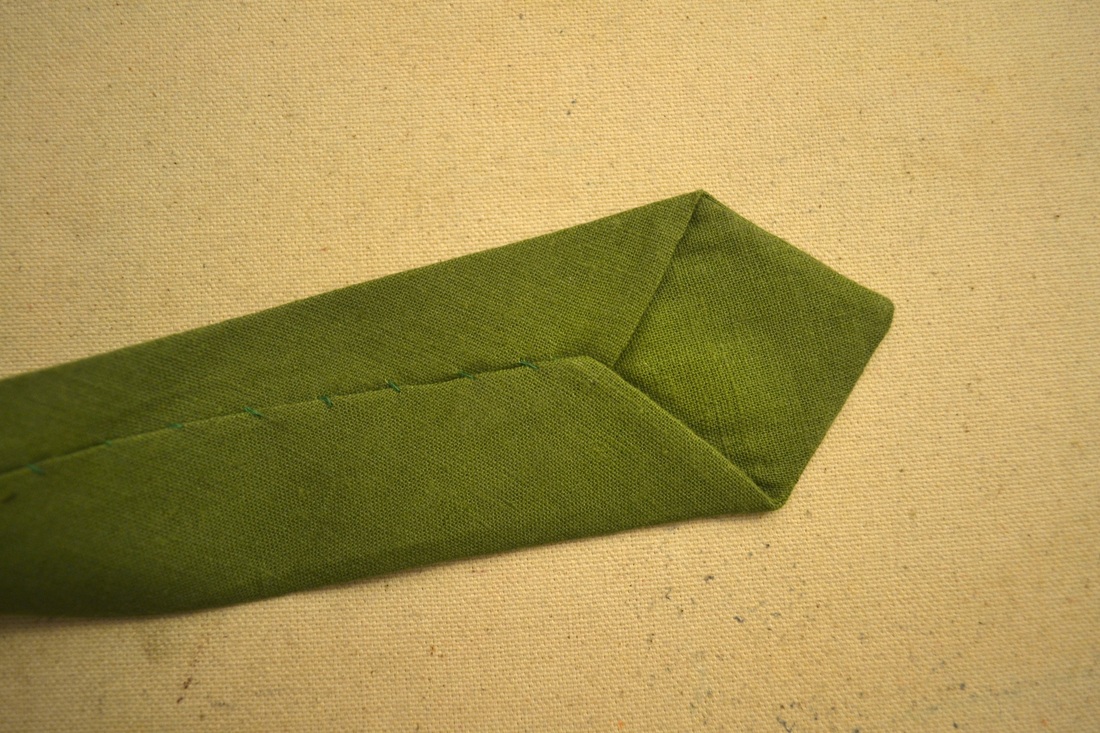
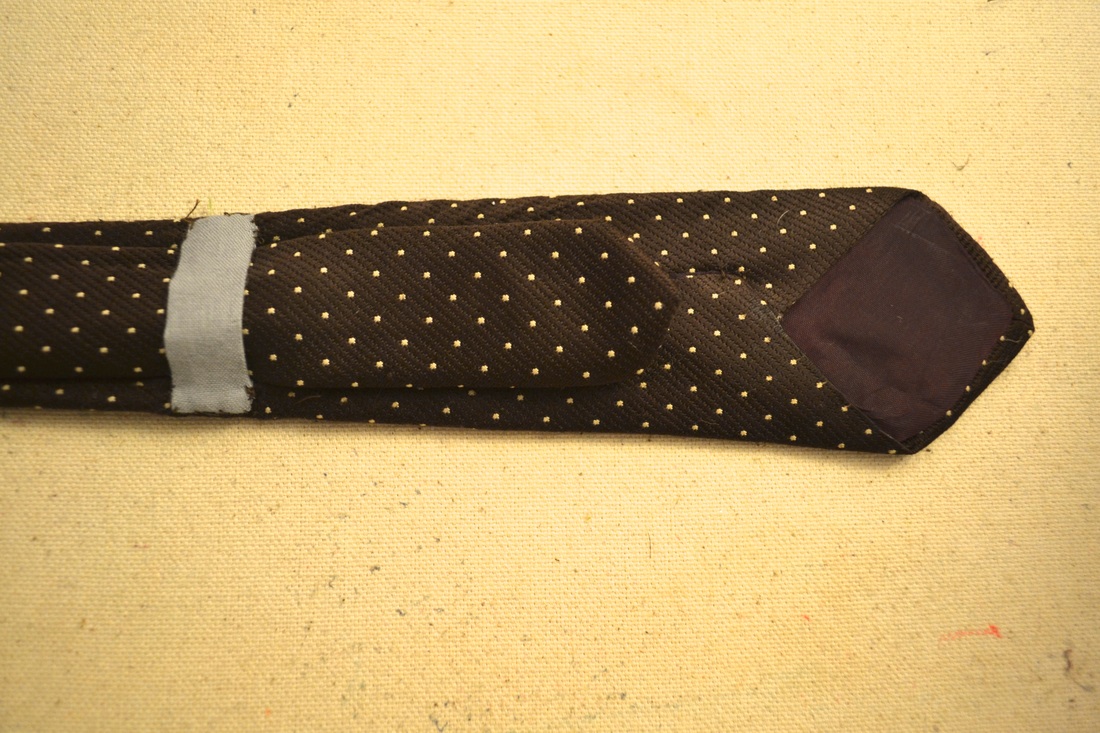
11. Now let's go back to the original tie. You will need to re-attach your end piece that you cut to make it narrower. Turn it so right sides are facing, pin it together, and stitch it closed. Then flip it over and iron it flat. It will look like this.
12. Now the only thing left to do is add an end holder. Measure about 6'' up from the bottom of the tie. You can either re-attach your original strip of fabric that held the end of the tie back on or make a new one from some scraps. I just folded over a 1.5'' by 2'' rectangle of scrap fabric, folded the ends in, and stitched it down. Again, it doesn't show as long as it isn't too thick and bulky, so don't stress about it.
That's it! Pretty simple right! The only annoying/time consuming thing is hand stitching the tie shut and that's just cause I need to work on my hand stitching speed. Charlie loved both of them!

Let me know if you have any questions or have tried this tutorial!
 RSS Feed